
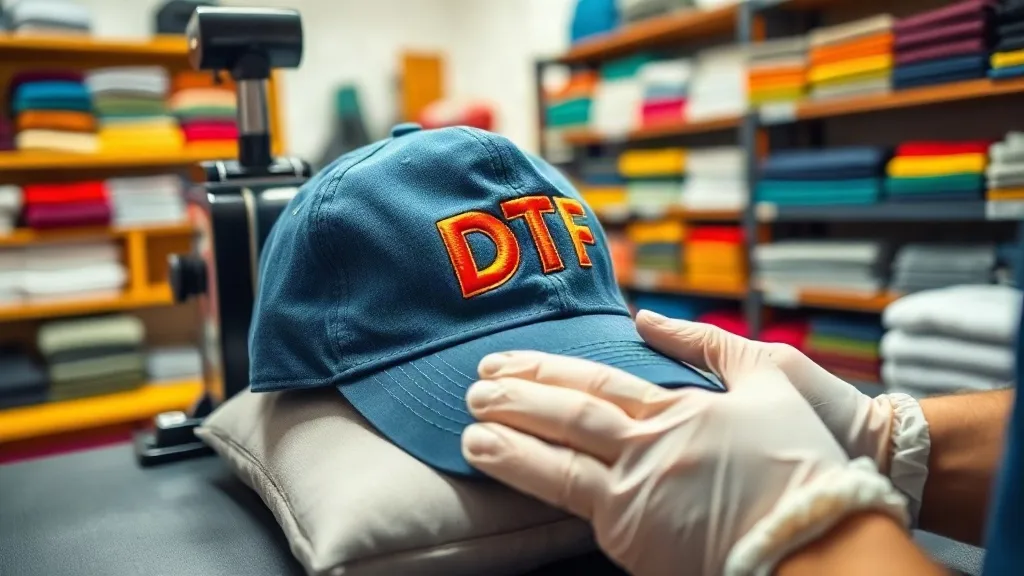
Applying dtf transfers to hats and caps is one of those tasks that looks straightforward until you actually try it. The curved surface, the seams, the hardware, and the variety of materials all conspire to turn a simple press job into a test of patience. But once you understand the nuances, DTF becomes one of the most versatile and profitable decoration methods for headwear. This guide is for shop owners, press operators, and anyone who wants to add custom caps to their product line without the headaches.
Why DTF Works Well for Hats
DTF (Direct to Film) printing has gained traction because it works on almost any fabric, and hats are no exception. Unlike embroidery, which can be bulky and limited in detail, DTF allows for full-color, high-resolution designs with fine lines and gradients. It also handles small text better than screen printing, which is a big advantage for hat fronts where space is tight.
Another benefit is that DTF transfers are thin and flexible. When applied correctly, they conform to the curve of the cap without cracking or peeling. This makes them ideal for fashion caps, promotional headwear, and team gear.
If you are new to dtf printing, it helps to understand the basics: designs are printed onto a special film, dusted with adhesive powder, and then heat-pressed onto the garment. For hats, the process is similar, but the application requires a few adjustments.
Choosing the Right Hat Blanks
Not all hats are created equal. The material, structure, and seam placement all affect how well a DTF transfer adheres and how it looks after pressing.
Cotton and Canvas Caps
These are the most forgiving. Cotton and canvas hold the adhesive well and can withstand the heat required for DTF. They also provide a smooth surface for the transfer, which helps with detail reproduction.
Polyester and Performance Fabrics
Polyester caps, especially those with moisture-wicking properties, are popular for sports and outdoor use. However, polyester can be sensitive to high heat. You will need to lower the press temperature slightly and use a pressing pillow to avoid scorching or melting the fabric. Also, some polyester caps have a tendency to shrink or distort under heat, so pre-pressing is advisable.
Structured vs. Unstructured Caps
Structured caps have a stiff front panel, which makes pressing easier because the surface is flat and firm. Unstructured caps are softer and more floppy, requiring extra care to ensure even pressure. For beginners, structured caps are more forgiving.
Preparing the Hat for Pressing
Before you press, you need to prepare the hat to receive the transfer. This step is often overlooked, but it can make or break the final result.
First, check for any loose threads or debris on the surface. A quick pass with a lint roller can save you from a ruined transfer. Next, pre-press the hat for a few seconds to remove moisture and wrinkles. This also helps the adhesive bond better.
For curved surfaces, a pressing pillow is essential. It supports the hat and provides a firm, even surface for the transfer to adhere to. Without a pillow, you risk uneven pressure, which leads to partial adhesion or a distorted design.
Setting Up the Heat Press
Temperature, pressure, and time are the three variables you need to control. For DTF on hats, a common starting point is 300°F (150°C) for 10-15 seconds with medium pressure. However, these settings can vary depending on the transfer film and the hat material. Always follow the transfer supplier's recommendations and do a test press on a scrap hat if possible.
Pressure is critical. Too little pressure and the transfer won't stick; too much and you might flatten the hat's structure or cause the adhesive to bleed. Use a press with a pressure gauge and adjust accordingly.
Applying the Transfer
Once the hat is prepped and the press is ready, place the transfer onto the hat. If the design has a specific orientation, make sure it's aligned correctly. For caps, the design is usually centered on the front panel, but you might also place it on the side or back.
Cover the transfer with a protective sheet (such as a Teflon sheet or parchment paper) to prevent the film from sticking to the upper platen. Press for the recommended time, then remove the hat from the press and peel the film while it's still warm. Peeling warm is important for DTF because it allows the adhesive to stretch slightly with the fabric, reducing the chance of cracking later.
If you are applying dtf transfers near me, you might have access to local suppliers who can provide guidance on specific settings for their films. Building a relationship with a local supplier can be a valuable resource.
Common Challenges and Solutions
Curved Surfaces and Uneven Pressure
The biggest challenge with hats is the curve. A pressing pillow helps, but you still need to ensure that the entire design area receives even pressure. Some operators use a hat press attachment, which is a curved platen designed specifically for caps. If you do a lot of hats, investing in one is worthwhile.
Seams and Hardware
Seams can create ridges that prevent the transfer from adhering properly. If your design crosses a seam, you may need to increase pressure or use a slightly longer press time. Be careful with hardware like eyelets or buckles; they can damage the transfer or the press. It's best to position designs away from hardware.
Adhesion Issues
If the transfer peels after washing, it's usually due to insufficient pressure, incorrect temperature, or poor-quality film. Always test a sample and adjust your settings. Also, make sure the hat is clean and dry before pressing.
Wash and Care Recommendations
To ensure the longevity of DTF-printed hats, advise your customers to wash them by hand in cold water and air dry. Avoid ironing directly over the design. For best results, turn the hat inside out before washing. Providing care instructions adds value and reduces complaints.
Profit Potential: Adding Hats to Your Product Line
Hats are a high-margin item. The blanks are relatively inexpensive, and the decoration cost is low, especially if you use gang sheets to maximize efficiency. A single dtf transfers gang sheet can include multiple hat designs, reducing waste and cost per unit. This makes hats an attractive option for small shops looking to expand their offerings.
Moreover, custom hats are popular for events, teams, and corporate gifts. By mastering DTF on hats, you open up a new revenue stream with minimal additional equipment.
Frequently Asked Questions
Can I use DTF transfers on all types of hats?
DTF works on most hat materials, including cotton, canvas, polyester, and blends. However, some materials like nylon or water-repellent fabrics may require special low-temperature transfers or additional care. Always test on a sample first.
How do I prevent the transfer from cracking on curved hats?
Use a pressing pillow to ensure even pressure, and peel the film while warm. Also, avoid stretching the hat too much during pressing. Choosing a high-quality transfer film with good elasticity also helps.
What is the best way to press a hat without a hat press attachment?
You can use a pressing pillow on a flat press. Place the pillow inside the hat to support the area being pressed, and apply moderate pressure. It may take some practice to get consistent results.
How long does a DTF transfer last on a hat?
With proper application and care, DTF transfers can last as long as the hat itself. Following wash instructions (cold water, air dry) will maximize durability.
Can I layer DTF transfers on hats?
Yes, you can layer transfers, but it's tricky on curved surfaces. It's better to design the artwork as a single transfer with all elements included. If layering, press each layer separately and ensure proper adhesion.
For more detailed information on dtf transfers and to explore options for your shop, visit our comprehensive resources.