
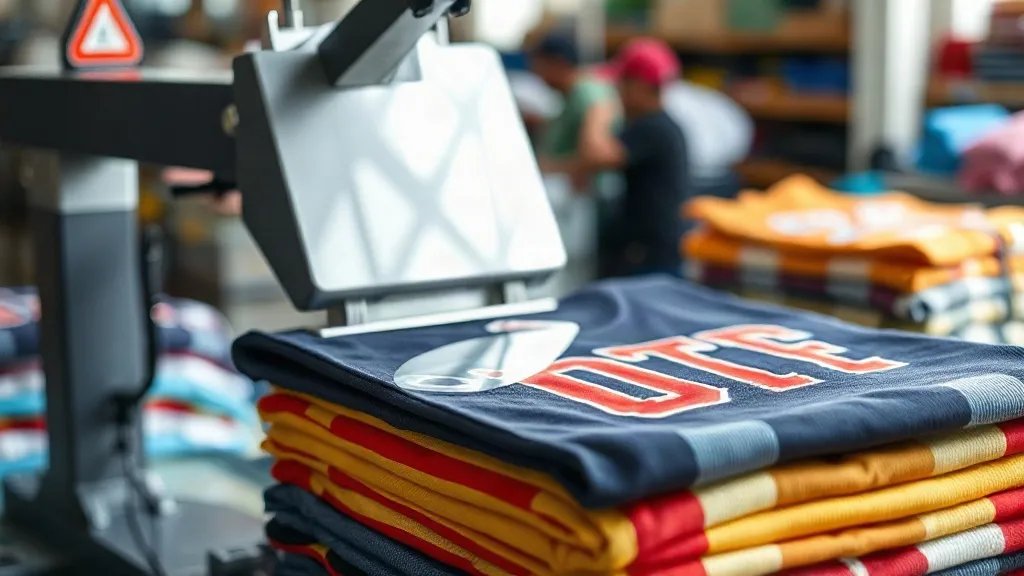
When a youth soccer league needs 200 jerseys by the end of the month, or a local brewery wants staff shirts that survive weekly washes, the pressure is on to deliver uniforms that look sharp and hold up. DTF transfers have become a go-to solution for these exact scenarios, offering a balance of durability, color vibrancy, and efficiency that traditional methods struggle to match. Unlike screen printing, which requires separate screens for each color, DTF printing produces full-color designs in a single transfer, making it ideal for team logos with gradients, fine details, or small text. For print shops and apparel brands, this means faster turnaround times and less waste, especially on small to medium runs where setup costs can eat into margins.
But uniforms are not just about looking good on day one; they need to withstand the rigors of regular use, frequent washing, and the occasional rough play. This guide dives into the practical considerations for using dtf transfers in team uniform production, from selecting the right fabrics to pressing techniques that ensure longevity. Whether you are outfitting a corporate softball team or a high school marching band, these insights will help you deliver uniforms that stay professional wear after wear.
Why DTF Transfers Excel for Team Uniforms
Team uniforms often involve complex logos with multiple colors, gradients, and fine details that traditional screen printing can struggle with. DTF transfers handle these elements with ease because the design is printed onto a film using water-based inks, then coated with a powder adhesive. When heat-pressed, the adhesive melts into the fabric, creating a strong bond that flexes with the garment. This flexibility is crucial for uniforms that see movement, like sports jerseys or work shirts.
Another advantage is the ability to print on demand. Unlike screen printing, which requires a minimum order quantity to justify setup, dtf transfers can be produced in small batches or even one-offs without a cost penalty. This is perfect for teams that need to add late joiners or replace damaged pieces. Plus, the digital nature of DTF means you can easily personalize each uniform with names and numbers without additional setup.
Durability is another key factor. When applied correctly, dtf transfers can withstand dozens of wash cycles without cracking, peeling, or fading. This is particularly important for uniforms that are worn multiple times a week and washed frequently. The key lies in proper pressing and fabric compatibility, which we will cover later.
Choosing the Right Fabrics for Uniform DTF Transfers
Not all fabrics are created equal when it comes to DTF. The adhesive on the transfer needs to bond with the fabric fibers, and the fabric's texture and composition affect how well that bond holds. For uniforms, the most common materials are cotton, polyester, and blends. Each has its own considerations.
Cotton and Cotton-Rich Blends
Cotton is a popular choice for uniforms due to its breathability and comfort. DTF transfers adhere well to cotton, but the fabric's texture can affect the finish. Smooth, tightly woven cotton yields a crisp, detailed print, while rough or heavy textures may require a slightly higher press temperature and pressure to ensure the adhesive penetrates the fibers. For 100% cotton, a press at 300°F to 320°F for 10-15 seconds usually works well. However, be cautious with dark cottons: the white ink layer in DTF transfers can sometimes appear slightly muted on very dark fabrics, so a test press is advisable.
Polyester and Synthetic Blends
Polyester is common in athletic uniforms because of its moisture-wicking properties. DTF transfers bond excellently to polyester, often with a softer hand than on cotton. However, polyester is sensitive to heat; too high a temperature can cause the fabric to scorch or the transfer to become glossy. A lower press temperature (around 280°F to 300°F) is recommended, along with a shorter dwell time. Also, some polyester fabrics have a tendency to dye-migrate, where the fabric's dye sublimates into the transfer's adhesive, causing discoloration over time. Using a dye-blocking underbase or choosing a transfer with a higher opacity can mitigate this.
Specialty Fabrics
Uniforms may also involve stretch fabrics like spandex blends for compression wear, or moisture-wicking synthetics. DTF transfers are flexible and can stretch with the fabric, but it's essential to test adhesion on these materials. A stretch test after pressing can reveal if the transfer will crack when the garment is stretched. For highly elastic fabrics, consider using a transfer with a lower melt-point adhesive or applying a slightly higher pressure to ensure full contact.
Design Considerations for Uniform DTF Transfers
Creating designs for uniforms requires a balance of aesthetics and practicality. Logos and text need to be legible from a distance, and colors should remain vibrant after washing. Here are some design tips specific to DTF.
Color and Contrast
DTF printing uses CMYK plus white ink, allowing for full-color designs without color limits. However, when printing on dark fabrics, the white ink layer acts as a base to make colors pop. Ensure your design file includes a white underbase for any colored elements that will sit on dark areas. Without it, colors may appear dull or tinted by the fabric. For uniforms, high contrast between the logo and the fabric is essential for visibility. Avoid subtle color combinations that may get lost, especially on jerseys that need to be seen from the sidelines.
Line Thickness and Detail
While DTF can reproduce fine details, very thin lines (below 1 point) may not adhere well or may become lost after washing. For uniform numbers and names, use bold, simple fonts with a minimum line thickness of 2 points. This ensures legibility and durability. Also, consider the size of the transfer relative to the garment; a large, heavy transfer on a lightweight fabric can cause stiffness. For large designs, try to break them into smaller elements or use a transfer with a softer adhesive.
Placement and Sizing
Uniforms often have designated placement areas for logos, such as left chest, sleeves, or back. When designing, account for seams and pockets that may interfere with pressing. It's a good idea to create a template for each garment style to ensure consistent placement across the entire order. For numbers on the back, ensure they are sized appropriately for visibility; typically, 8-10 inches tall for adult jerseys.
Pressing Techniques for Durable Uniform Transfers
The longevity of a DTF transfer on a uniform hinges on proper pressing. Even the highest quality transfer can fail if not applied correctly. Here is a step-by-step guide to pressing uniforms for maximum durability.
Pre-Press Preparation
Before pressing, preheat the garment to remove moisture and wrinkles. Moisture can create steam during pressing, which may prevent proper adhesion. Set your heat press to the recommended temperature for the fabric (usually 300°F-320°F for cotton, 280°F-300°F for polyester) and pre-press for 5-10 seconds. If the garment has a zipper or buttons, ensure they are not under the pressing area or use a pressing pillow to avoid uneven pressure.
Application Steps
- Place the transfer on the garment with the adhesive side down. If the transfer has a carrier film, ensure it is on top.
- Cover with a protective sheet or parchment paper to prevent the transfer from sticking to the press.
- Apply medium to heavy pressure (40-60 psi) for 10-15 seconds. For larger transfers, you may need to press in sections to ensure even coverage.
- Remove the garment from the press and allow it to cool completely before peeling the carrier film. Peeling while hot can cause the design to stretch or lift.
- For a matte finish or to enhance durability, you can do a second press with a cover sheet for 5 seconds after peeling.
Post-Press Care
After pressing, inspect the transfer for any edges that may not have adhered. If you find lifting, re-press that area for a few seconds. Allow the garment to rest for at least 24 hours before washing to ensure the adhesive fully cures. When washing, turn the uniform inside out and use cold water on a gentle cycle. Avoid fabric softeners and bleach, which can degrade the adhesive. Tumble dry on low or hang dry.
Common Pitfalls and How to Avoid Them
Even experienced printers run into issues with DTF on uniforms. Here are some common problems and solutions.
Transfer Peeling After Washing
If transfers peel, it's usually due to insufficient pressure, incorrect temperature, or pressing over seams. Ensure your press is calibrated and apply consistent pressure. For garments with seams, use a pressing pillow to raise the seam area. Also, check that the fabric is not too textured; if it is, increase pressure slightly.
Color Fading or Cracking
Fading can occur if the transfer is exposed to excessive heat during pressing or washing. Always follow the fabric's care instructions and avoid ironing directly on the transfer. Cracking often results from stretching the garment while the transfer is cold; always peel after cooling and stretch test a sample before full production.
Adhesive Residue on Press
Sometimes adhesive can stick to the press platen, especially if the transfer is placed incorrectly. Use a protective sheet and clean the platen regularly with a press cleaner. If residue builds up, it can transfer to subsequent garments.
Finding Reliable DTF Transfers Near You
For print shops and apparel businesses, sourcing quality dtf transfers near me is crucial for maintaining turnaround times and consistency. Local suppliers can offer faster shipping and the ability to consult in person, which is invaluable when troubleshooting or testing new fabrics. When evaluating a supplier, ask about their ink quality, film type, and adhesive formulation. A good supplier will provide samples and technical support. Additionally, consider whether they offer gang sheets, which allow you to combine multiple designs on a single sheet to save on costs. This is particularly useful for uniforms where you have multiple sizes and names.
Online suppliers can also be a great resource, especially for specialty transfers or large orders. Look for reviews and ask for recommendations from other print shops. Building a relationship with a reliable supplier can streamline your uniform production and ensure you always have the materials you need.
Frequently Asked Questions
Can DTF transfers be used on both cotton and polyester uniforms?
Yes, DTF transfers work on both cotton and polyester, but you need to adjust press settings. Cotton typically requires higher heat (300°F-320°F), while polyester needs lower heat (280°F-300°F) to avoid scorching. Always test on a sample first.
How many washes can I expect a DTF transfer to survive?
When applied correctly, DTF transfers can last 50+ washes without significant fading or peeling. Proper washing inside out in cold water and avoiding harsh chemicals will extend the life.
Can I personalize each uniform with names and numbers using DTF?
Absolutely. DTF is ideal for personalization because there is no setup cost per name or number. You can print each transfer individually or gang them on a sheet for efficiency.
What is the best way to store DTF transfers before pressing?
Store transfers in a cool, dry place away from direct sunlight. Keep them flat to prevent creasing. Avoid humidity, which can affect the adhesive powder.
Do I need a special heat press for DTF transfers?
A standard heat press works fine, but ensure it can maintain consistent temperature and pressure. For high-volume uniform production, a press with a larger platen and precise controls is beneficial.