
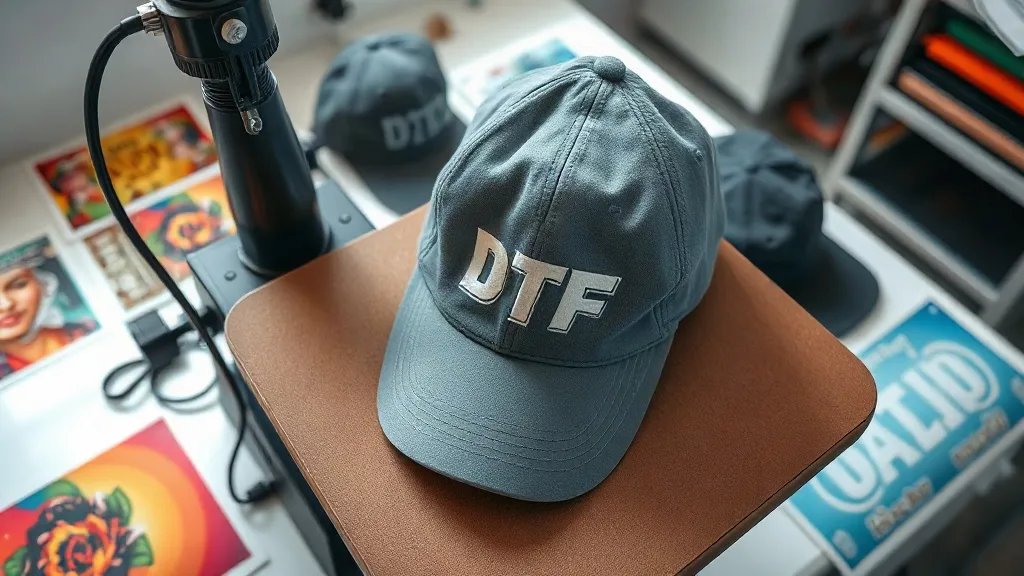
You have probably seen a beautifully printed cap and wondered how it was done without the design warping or the seams getting in the way. Pressing dtf transfers onto hats is not the same as pressing a flat t-shirt. The curved surface, the seams, and the variety of materials all demand a different approach. Whether you are a small print shop adding headwear to your offerings or a crafter looking to expand, this guide walks through the practical steps to get a clean, durable print on caps and beanies.
Why DTF Works Well for Hats
DTF printing has become a go-to method for decorating apparel because it handles complex designs, fine details, and vibrant colors without the setup costs of screen printing. For hats, the advantages are even more pronounced. The transfer film is thin and flexible, so it conforms to curved surfaces better than vinyl or thick screen-printed layers. It also adheres to a wide range of fabrics, from cotton twill to polyester blends and even some nylon caps. This versatility means you can offer custom hats without investing in specialized embroidery equipment or learning a new printing process from scratch.
Another benefit is the ability to print full-color designs with gradients and photographs. Hats often feature logos or text that need to be crisp, and dtf transfers deliver that sharpness. The process is also relatively fast once you have the transfers on hand, which is ideal for small batches or last-minute orders.
Choosing the Right Hat Blanks
Not all hats are created equal when it comes to DTF. The material, structure, and seam placement all affect how well the transfer adheres and how it looks after pressing. Here is what to look for:
Fabric Composition
Cotton and cotton-poly blends are the most forgiving. They handle the heat of the press well and provide a smooth surface for the transfer to bond. 100% polyester caps can work, but you need to lower the press temperature to avoid scorching or dye migration. Nylon and water-repellent materials are tricky; they may require special low-temperature transfers or a different adhesive. Always test on a scrap piece or an inconspicuous area first.
Structure and Seams
Structured caps with a stiff front panel are easier to press because they maintain their shape. Unstructured caps, like dad hats or beanies, tend to flatten under the press, which can cause the design to distort. Pay attention to the seams: a thick seam running through the print area can create uneven pressure. Look for caps with a smooth front panel or plan your design to avoid seams.
Color and Texture
Dark hats require a white underbase in the transfer, which DTF provides automatically. However, heavily textured fabrics like corduroy or ribbed knit can prevent the transfer from making full contact, leading to poor adhesion. Smooth twill or canvas is your best bet for consistent results.
Preparing the Hat for Pressing
Proper preparation is half the battle. Before you even think about heat, you need to stabilize the hat and remove any moisture.
- Pre-press the hat: Give the hat a quick press for 3-5 seconds to remove wrinkles and moisture. This also helps the fabric settle into a flat shape.
- Use a hat press or a pressing pillow: A dedicated hat press has a curved platen that matches the shape of the cap. If you don't have one, a pressing pillow inside the hat can create a firm, curved surface. This ensures even pressure across the design.
- Position the design: Center the transfer on the front panel. If the cap has a button on top, make sure the design doesn't overlap it. Use heat-resistant tape to hold the transfer in place if needed.
For beanies, you can often press them flat, but be careful with the ribbing. Stretch the beanie slightly over a pillow to create a smooth surface, but don't overstretch or the design will distort when the hat relaxes.
Pressing Parameters That Work
Every press is different, and the transfer supplier's instructions should be your starting point. However, here are general guidelines for hats:
- Temperature: 280-300°F (138-149°C) for cotton and blends. Lower to 260-270°F for polyester to avoid dye migration.
- Pressure: Medium to firm. You need enough pressure to push the transfer into the fabric, but too much can flatten the cap's structure or cause the design to spread.
- Time: 10-15 seconds for the press, then peel the film while it's warm or cold depending on the transfer type. Most DTF transfers are cold peel, but check your supplier's recommendation.
- Second press: After peeling, cover the design with a Teflon sheet or parchment paper and press for another 5-10 seconds to smooth the print and ensure full adhesion.
Always use a protective sheet over the transfer to prevent sticking and to distribute pressure evenly. And never press directly on the seams if you can avoid it; if you must, use a seam pillow or adjust the design placement.
Troubleshooting Common Issues
Even with the best preparation, things can go wrong. Here are fixes for typical hat pressing problems.
The transfer won't stick
This usually means insufficient pressure or temperature. Check that your press is actually reaching the set temperature (use an infrared thermometer) and that the hat is firmly supported. If the fabric is heavily textured, try a longer press time or a higher pressure. Also, ensure the hat is completely dry; moisture can prevent adhesion.
The design cracks or peels after washing
This points to under-pressing. The adhesive needs enough heat and time to fully bond with the fibers. Increase the press time by a few seconds and make sure the pressure is even. For stretchy fabrics, consider using a transfer designed for stretch. And always wait 24 hours before washing.
The print looks dull or patchy
Patchiness can come from uneven pressure due to seams or from the transfer not being fully pressed into the fabric. Use a pressing pillow to create a uniform surface. If the hat has a thick seam, try repositioning the design or using a seam pillow to raise the area around it.
Dye migration on polyester caps
Polyester dyes can sublimate into the transfer when heated. To prevent this, use a low-temperature transfer or a dye-blocking underbase. You can also pre-press the hat at a lower temperature to drive off excess dye before applying the transfer.
Design Tips for Hats
Hats have limited space, so your design needs to be optimized. Keep it simple and bold. Thin lines and tiny text may not hold up well on textured fabrics. Use high-contrast colors to make the design pop. And remember that the curve of the cap will distort straight lines slightly, so avoid designs that rely on perfect geometry. If you're printing on the back of the cap, leave room for the adjustment strap.
For beanies, consider the fold. A design placed too low may disappear when the beanie is folded. Test the placement on a sample before committing to a batch.
Washing and Care
To keep your DTF-printed hats looking fresh, advise your customers to wash them by hand or on a gentle cycle in cold water. Turn the hat inside out and avoid harsh detergents. Air dry is best; if using a dryer, use low heat. Avoid ironing directly on the print.
Frequently Asked Questions
Can I use DTF transfers on all types of hats?
Most hats work, but the material matters. Cotton, cotton-poly blends, and smooth polyester are ideal. Nylon, waterproof coatings, and heavily textured fabrics like corduroy may require special handling or may not adhere well. Always test first.
Do I need a special press for hats?
A hat press is helpful because it provides a curved platen that matches the cap's shape, but you can achieve good results with a flat press and a pressing pillow. The key is to create a firm, curved surface and apply even pressure.
How do I prevent the design from cracking on the curve?
Use a transfer that is designed for stretch, and make sure you press long enough for the adhesive to fully bond. Also, avoid overstretching the hat during pressing. After pressing, a second press with a cover sheet helps the print conform to the curve.
What temperature should I use for polyester hats?
Lower the temperature to around 260-270°F (127-132°C) to avoid dye migration. Use a dye-blocking transfer if available, and pre-press the hat to remove moisture and excess dye.
How long should I press a DTF transfer on a hat?
Typically 10-15 seconds at medium-firm pressure, followed by a second press of 5-10 seconds after peeling. Always follow the transfer supplier's instructions for the best results.