
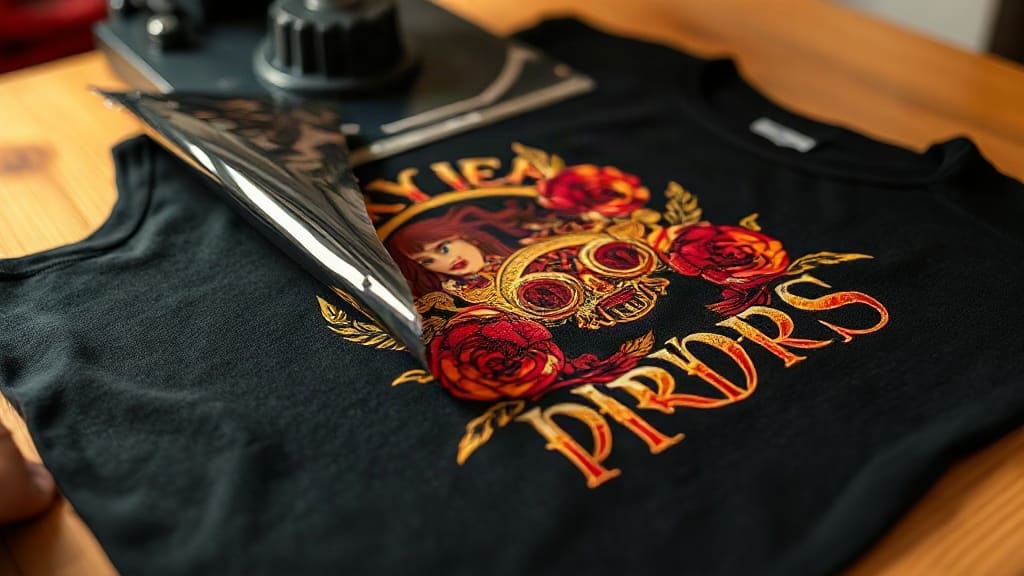
When I first started my custom T-shirt business back in 2015, I was juggling heat transfer vinyl, screen printing, and even some questionable iron-on experiments. Then I discovered DTF transfers, and everything changed. Not only did they simplify my workflow, but they also opened up a world of possibilities for intricate designs that my customers loved. In this guide, I'll share everything I've learned about DTF transfers over the years, so you can skip the trial and error and get straight to creating stunning apparel.
What Are DTF Transfers?
DTF stands for Direct to Film. It's a printing technology where your design is printed onto a special film, coated with a powder adhesive, and then transferred to fabric using a heat press. Unlike DTG (Direct to Garment) printing, which requires specialized printers and pretreated shirts, DTF transfers are versatile and can be applied to almost any fabric, including cotton, polyester, blends, and even leather. The process is relatively simple: print, powder, cure, and press. But the magic is in the details.
The DTF Printing Process Step by Step
Let's break down how DTF transfers are made, because understanding this will help you appreciate why they perform so well.
- Design Preparation: Your artwork is prepared in a RIP software, which mirrors the image and adjusts colors for the printer.
- Printing: A DTF printer uses CMYK plus white ink. The white ink is crucial because it acts as a base, allowing the colors to pop on dark fabrics. The printer lays down the white ink first, then the colors on top, all onto a PET film.
- Powdering: While the ink is still wet, a hot-melt adhesive powder is sprinkled over the print. The powder sticks to the wet ink.
- Curing: The film goes through a curing oven or under a heat source to melt the powder, creating a smooth, dry adhesive layer.
- Transfer: The film is placed on the fabric and pressed with a heat press at a specific temperature and pressure. The adhesive melts again, bonding the ink to the fabric. Once cooled, the film is peeled away, leaving the design behind.
This process results in a soft, flexible print that stretches with the fabric and withstands repeated washing. I've had shirts with DTF transfers that have lasted over 50 washes without fading or cracking, which is impressive compared to some other methods.
Why Choose DTF Transfers?
There are plenty of decoration methods out there, so why did I switch to DTF? Here are the key benefits that won me over.
Unmatched Versatility
DTF transfers work on a wide range of materials. I've applied them to 100% cotton tees, 50/50 blends, polyester performance wear, canvas bags, and even leather patches. This flexibility means you don't need to stock multiple types of transfer materials or turn down jobs because of fabric limitations. For a small business like mine, that's a huge advantage.
Vibrant Colors and Fine Details
Because DTF uses white ink as a base, the colors remain vibrant even on dark garments. The level of detail is also impressive; I've printed designs with tiny text and intricate gradients that would be challenging with other methods. The results are sharp and true to the original artwork.
Durability
A properly applied DTF transfer is incredibly durable. The adhesive bonds with the fabric fibers, and the ink layer is flexible, so it won't crack or peel easily. I've washed test shirts dozens of times, and they still look great. Of course, following the correct application and care instructions is key.
Cost-Effective for Small Runs
Unlike screen printing, which requires separate screens for each color and becomes costly for small batches, DTF transfers are economical for short runs. You can print one-offs or small quantities without breaking the bank. This makes them perfect for custom orders, samples, and limited editions.
How to Apply DTF Transfers Like a Pro
Applying DTF transfers might seem straightforward, but there are nuances that can make or break the final result. Here's my tried-and-true method.
What You'll Need
- A heat press (not an iron, though you can use one with caution)
- Your DTF transfer
- The garment
- Parchment paper or a Teflon sheet
- Heat-resistant tape (optional)
Step-by-Step Application
- Preheat the Press: Set your heat press to 325°F (160°C) for cotton, or 300°F (150°C) for polyester. Preheat for about 10-15 seconds to ensure even temperature.
- Pre-Press the Garment: Place the garment on the press and press for 5-10 seconds to remove moisture and wrinkles. This step is crucial for a smooth application.
- Position the Transfer: Place the DTF transfer on the garment with the printed side facing up. If needed, secure it with heat-resistant tape to prevent shifting.
- Press: Cover with parchment paper or a Teflon sheet. Press with medium to firm pressure for 15-20 seconds. For larger designs, you may need to press in sections.
- Peel: After pressing, wait a few seconds for the transfer to cool slightly. Then peel the film off in a smooth, steady motion. If the design lifts, press again for a few more seconds.
- Post-Press (Optional): For extra durability, cover the design with parchment paper and press again for 5-10 seconds. This helps the adhesive fully bond.
I always recommend doing a test press on a scrap piece of fabric to dial in your settings. Every heat press is a bit different, so finding the sweet spot for pressure and temperature is worth the effort.
Common Mistakes to Avoid with DTF Transfers
Even with the best intentions, things can go wrong. Here are some pitfalls I've encountered and how to steer clear of them.
- Insufficient Pressure: If the pressure is too low, the adhesive won't bond properly, leading to early peeling. Make sure your press is adjusted correctly.
- Wrong Temperature: Too hot and you might scorch the fabric or melt the transfer; too cold and the adhesive won't activate. Always check the recommended settings.
- Not Pre-Pressing: Skipping the pre-press can trap moisture, causing bubbles or poor adhesion. Always pre-press.
- Peeling Too Soon or Too Late: DTF transfers are typically peeled cold, but some are hot-peel. Know your transfer type. If you peel too early, the design may stretch; too late, and it might set incorrectly.
- Using the Wrong Fabric: While DTF works on many fabrics, some like nylon or certain waterproof materials may require special low-temperature transfers. Test first.
DTF vs Other Transfer Methods
How does DTF stack up against other popular decoration methods? Let's compare.
DTF vs DTG
DTG prints directly onto the garment, which is great for 100% cotton but less effective on blends and dark colors (unless pretreated). DTF can go on almost anything and doesn't require pretreatment, making it more versatile. However, DTG can be more cost-effective for large runs on light-colored cotton.
DTF vs Vinyl
Heat transfer vinyl is cut from colored sheets, so it's limited to solid colors and simple shapes. DTF can reproduce full-color images with gradients and fine details. Vinyl is often cheaper for single-color designs, but DTF wins for complexity.
DTF vs Screen Printing
Screen printing is the go-to for large orders of the same design because the cost per unit drops significantly. But for small batches or multi-color designs, DTF is more economical and requires less setup. Screen printing also has a distinct feel that some prefer, but DTF offers a softer hand.
Frequently Asked Questions About DTF Transfers
How long do DTF transfers last?
With proper application and care, DTF transfers can last as long as the garment itself. I've seen them endure over 50 washes without fading or cracking. To maximize longevity, wash inside out in cold water and avoid harsh detergents or high heat in the dryer.
Can I stretch DTF transfers?
Yes, DTF transfers are flexible and can stretch with the fabric. However, extreme stretching (like over 50%) may cause the print to crack over time. For performance wear, it's best to use a transfer designed for stretch fabrics.
Do I need a special printer for DTF transfers?
To make your own DTF transfers, you need a DTF printer, which uses special inks and film. However, you can also buy pre-made DTF transfers from suppliers and apply them with a heat press. For many small businesses, outsourcing the printing is more practical.
What fabrics work best with DTF transfers?
DTF transfers adhere well to cotton, polyester, blends, and even leather. For best results, choose fabrics with a smooth surface. Highly textured fabrics like ribbed knits or fleece may require extra pressure and can have a slightly different feel.
Can I use a home iron to apply DTF transfers?
While it's possible, a home iron doesn't provide consistent pressure and temperature, so the results can be hit or miss. If you must use an iron, set it to the highest heat without steam, use firm pressure, and follow the same timing as a heat press. But for professional quality, invest in a heat press.
DTF transfers have revolutionized the custom apparel industry, and for good reason. They offer versatility, durability, and vibrant results that keep customers coming back. Whether you're a hobbyist or a seasoned pro, mastering DTF transfers can elevate your creations. I hope this guide helps you avoid the mistakes I made and inspires you to try new designs. Happy pressing!