
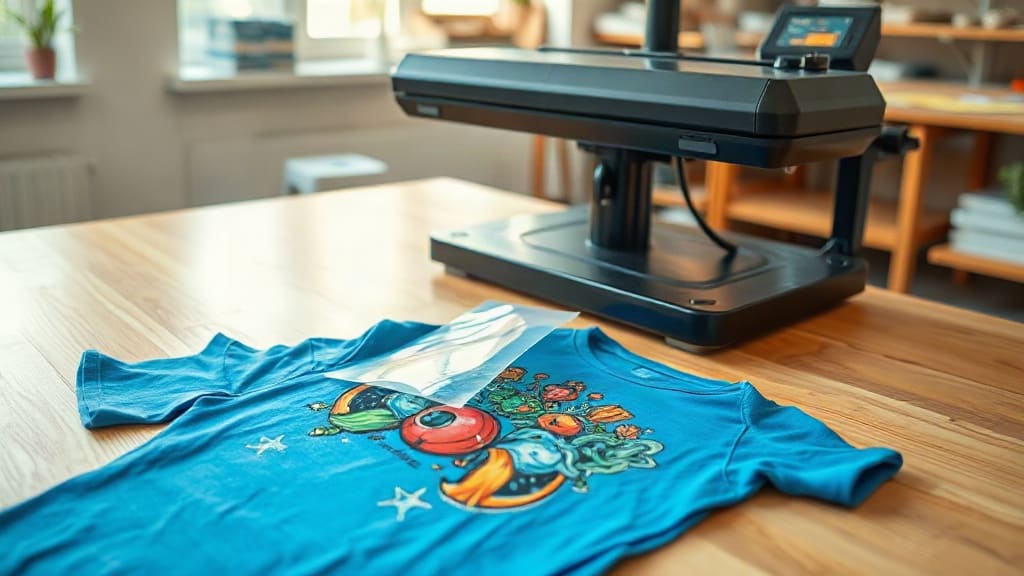
When it comes to custom apparel, DTF transfers have quickly become a favorite among small business owners, crafters, and DIY enthusiasts. Unlike traditional methods that require multiple steps and specialized equipment, DTF transfers offer a streamlined way to add vibrant, detailed designs to almost any fabric. Whether you're creating team jerseys, promotional t-shirts, or personalized gifts, understanding how DTF transfers work can save you time and money while delivering professional results.
What Are DTF Transfers?
DTF stands for Direct to Film. This printing technique involves printing a design onto a special film, coating it with a hot-melt adhesive powder, and then transferring it onto fabric using a heat press. The result is a soft, stretchable, and durable print that adheres well to cotton, polyester, and blends. Unlike DTG (Direct to Garment) printing, which requires the fabric to be pre-treated and can be limited to certain materials, DTF transfers are versatile and work on a wide range of fabrics, including dark colors.
Why Choose DTF Transfers Over Other Methods?
If you're in the custom apparel business, you've likely considered screen printing, vinyl, or DTG. Each has its merits, but DTF transfers stand out for several reasons:
- No color limitations: DTF can print full-color designs with gradients, photographs, and fine details without the need for multiple screens or color separations.
- Works on various fabrics: From 100% cotton to polyester and blends, DTF adheres well without the need for special coatings.
- Durability: When applied correctly, DTF prints resist cracking, peeling, and fading even after multiple washes.
- Cost-effective for small batches: Unlike screen printing, which requires setup costs per color, DTF transfers are economical for one-off items or small runs.
- Soft hand feel: The prints are thin and flexible, so they don't feel heavy or plastic-like on the garment.
For a shop like patchesup.com, offering DTF transfers means providing customers with a reliable solution for custom patches and apparel without the overhead of traditional printing methods.
How to Apply DTF Transfers: Step-by-Step
Applying DTF transfers is straightforward, but following the correct steps ensures a long-lasting result. Here's a detailed guide:
1. Gather Your Materials
You'll need a heat press (or a home iron with heavy pressure), the DTF transfer itself, a garment, and a protective sheet (like parchment paper or Teflon). A temperature gun can help verify the press temperature.
2. Prepare the Garment
Pre-press the garment for a few seconds to remove moisture and wrinkles. This step is crucial for proper adhesion. Set your heat press to the recommended temperature, typically around 325°F (160°C) for DTF.
3. Position the Transfer
Place the DTF transfer on the garment with the printed side facing up. If your transfer has a clear carrier film, the design should be readable (not mirrored).
4. Press the Transfer
Cover the transfer with a protective sheet. Press with medium to heavy pressure for 10-15 seconds. For best results, use a heat press rather than an iron, as consistent pressure and temperature are key.
5. Peel the Film
Allow the transfer to cool completely before peeling off the carrier film. This is a cold peel process. Peeling while hot can cause the design to stretch or lift.
6. Post-Press for Durability
For added durability, especially on stretchy fabrics, cover the design again and press for another 5-10 seconds. This helps the adhesive fully bond with the fibers.
Common Mistakes to Avoid with DTF Transfers
Even though DTF is forgiving, certain pitfalls can ruin your project. Watch out for these:
- Insufficient pressure: Without enough pressure, the transfer won't adhere properly and may peel off after washing.
- Wrong temperature: Too low and the adhesive won't activate; too high and the film may melt or the design may scorch.
- Peeling too soon: Always wait for the transfer to cool completely before peeling. Patience is key.
- Not pre-pressing: Moisture in the fabric can create steam and prevent proper adhesion.
- Using the wrong side of the film: Ensure the printed side faces up; otherwise, the design will transfer backwards.
By avoiding these mistakes, you'll achieve professional-looking results every time.
DTF Transfers vs. Other Printing Methods
To help you decide if DTF is right for your needs, here's a quick comparison:
- DTF vs. Screen Printing: Screen printing is cost-effective for large quantities of simple designs, but DTF wins for complex, multi-color designs and small batches.
- DTF vs. DTG: DTG requires pre-treatment and works best on 100% cotton. DTF works on more fabrics and doesn't require pre-treatment.
- DTF vs. Vinyl: Vinyl is great for simple text and shapes but can't handle intricate details or gradients. DTF excels at full-color images.
- DTF vs. Sublimation: Sublimation only works on light-colored polyester. DTF works on dark colors and cotton.
Each method has its place, but DTF transfers offer a unique combination of versatility and quality that's hard to beat.
Tips for Long-Lasting DTF Prints
To ensure your DTF transfers stand the test of time, follow these care instructions:
- Wait at least 24 hours before washing the garment.
- Turn the garment inside out before washing.
- Use cold water and mild detergent.
- Avoid fabric softeners and bleach.
- Tumble dry on low or hang to dry.
- Do not iron directly on the print; if needed, iron inside out.
With proper care, DTF prints can last as long as the garment itself.
Frequently Asked Questions About DTF Transfers
Can I use DTF transfers on any fabric?
DTF transfers work on a wide range of fabrics, including cotton, polyester, blends, and even some synthetic materials like nylon. However, for best results, choose fabrics with a smooth surface. Rough textures like canvas may require extra pressure and may not yield perfect details.
How durable are DTF transfers?
When applied correctly and cared for properly, DTF transfers are highly durable. They resist cracking, peeling, and fading for 50+ washes. The key is using the right temperature, pressure, and ensuring a cold peel.
Do I need a heat press for DTF transfers?
While you can use a home iron, a heat press is strongly recommended for consistent results. Irons often lack even pressure and precise temperature control, which can lead to poor adhesion. If you're serious about DTF, invest in a quality heat press.
Can I layer DTF transfers?
Yes, you can layer DTF transfers to create multi-dimensional designs. Press the first transfer, cool, peel, then repeat with the next layer. Be mindful of the thickness; too many layers can make the print stiff.
What's the difference between DTF and DTG?
DTF (Direct to Film) involves printing on a film and transferring to fabric, while DTG (Direct to Garment) prints directly onto the fabric. DTF works on more fabric types and doesn't require pre-treatment, but DTG can be more cost-effective for 100% cotton light-colored shirts in large quantities.
Whether you're a small business owner or a DIY enthusiast, DTF transfers offer a versatile and durable way to bring your designs to life. With the right techniques and a bit of practice, you'll be creating professional-quality custom apparel in no time.